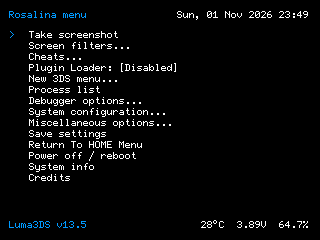
Luma3DS CFW
Custom firmware for the 2DS / 3DS family, including New models. It runs through a persistent exploit such as boot9strap; an archive alone does not install CFW on a stock console.
 whatwhatboy
Choose the model-specific setup guide and find Luma3DS, GodMode9 and the core tools for an existing CFW installation.
The maintained guide covers original 3DS / 3DS XL / 2DS and New 3DS / New 3DS XL / New 2DS XL. Select the exact model, region and installed firmware on the guide. An app download does not install CFW on a stock console.
6 resources shown
No resources match. Clear the filters to browse everything.
The six established resources and their pinned releases are preserved.
Custom firmware for the 2DS / 3DS family, including New models. It runs through a persistent exploit such as boot9strap; an archive alone does not install CFW on a stock console.

A full-access file browser for NAND backups, cartridge dumping and system maintenance. Follow its usage guide before making writes to system storage.

Find, install and update homebrew from Universal-DB and other Unistores directly on the console. Includes app search, screenshots and a download queue.

Back up and restore supported game saves and extdata. Use the 3DS CIA on a prepared 2DS / 3DS, and keep an original backup before restoring or editing saves.
Access SD-card files from an FTP client on your local network. This CIA is the 2DS / 3DS build, separate from the Nintendo DS binary.
Launch DS-mode homebrew on a CFW-enabled 2DS / 3DS. Follow the 3DS-specific installation steps; its package differs from the DS flashcard and DSi builds.